Using Android SDK Hierarchy Viewer
Automating Android app calls for many limitations of different types. During writing test cases using Robotium we have two choices
-
If AUT source code is available, we know the contents used within the application, and it’s pretty easy to work with these contents using Robotium
-
If we don’t have AUT (Application Under Test) code, there is only apk file available, we neither have much idea about the contents used within the app nor even sure about the properties bind with contents and their values, so we have to stay with situation with some assumptions
Android SDK has made software Testers’ life easy by providing a useful tool “Hierarchy Viewer”. It shows the hierarchical view of all contents used within the running screen of app along with their details (id, Name, Positions and all other Properties with their values).
Note: Before starting, we must insure that Android Environment is properly setup and working fine. Please setup the environment by clicking here.
Run Hierarchy Viewer
To run Hierarchy Viewer, follow these steps:
- Launch an emulator.
-To preserve security, Hierarchy Viewer can only connect to devices running a developer version of the Android system.
- If you have not done so already, install the application you want to work with. To make things simple we would be using “Notes App”, it is one of the sample apps bundled in Android SDK with source code.
- Run the Notes application, and ensure that its UI is visible.
- From a terminal, launch hierarchyviewer or double click on hierarchyviewer.h from the
/tools/ directory - The first window you see displays a list of devices and emulators. To expand the list of Activity objects for a device or emulator, click the arrow on the left. This displays a list of the Activity objects whose UI is currently visible on the device or emulator. The objects are listed by their Android component name. The list includes both your application Activity and system Activity objects.
Following is figure showing packages of all app running on device, select package of Notes app and click on Load View Hierarchy button
You can now look at its view hierarchy using the View Hierarchy window, or look at a magnified image of the UI using the Pixel Perfect window.

On selecting any of the content it will load its details, Notes is a simple application, in case of complex applications, we can understand power of hierarchy viewer more.
UI Identification of Contents on AUT
Using Notes app one can create and manage multiple notes easily. App contains following screens
-
NotesList screen to show list of created notes
-
NoteEditor screen to create and edit notes
-
TitleEditor screen to edit title of specific note
Each screen contains some contents to perform specific functionality. These contents could me TestView, EditView, ImageView, button etc..
To test Notes app using Robotium we need to know about contents in details, then we can perform actions on contents. Going through app from device/emulator only shows visible contents, but if some contents are hidden to arrange/organize layouts device will not show it.
hierarchy viewer tool can be used to cover this gap, it shows all contents used on screen in hierarchy.
We will go through each screen of app from device then hierarchy viewer view to get idea about contents used
Empty NoteList Screen
NoteList screen shows following contents on device
-
imageview to show “Notes” icon
-
textview to show text “Notes”
-
imageview to show “Create Note” icon

hierarchy viewer will show following contents hierarchy section of above screen 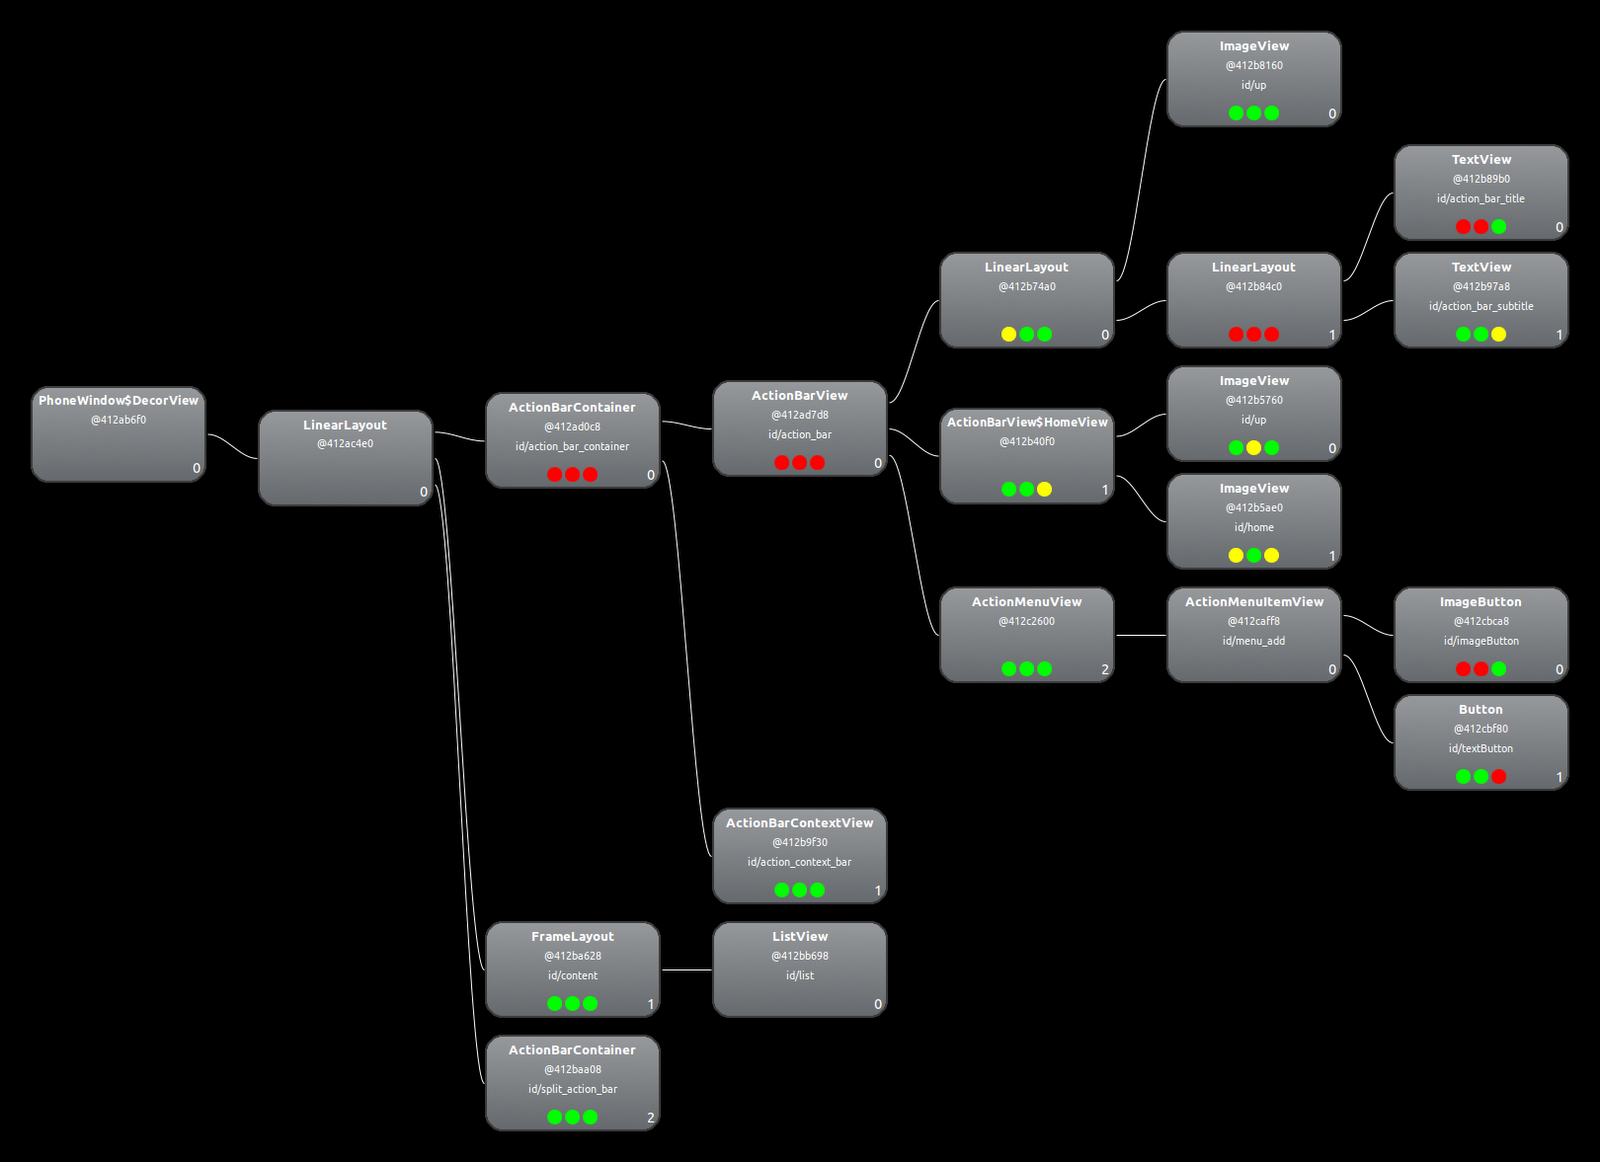
it is showing following contents
-
textview to show “Notes”
-
textview to show sub title which is hidden
-
imageview to show “Notes” icon
-
imagebutton to show “Create Notes” icon
-
Button with text “New Note” which is also hidden
Contents in bold are basically made hidden, that’s why these are not visible on device, and we don’t even sure about the properties bind with all of them.
On hierarchy view each block represent a content, on tapping any content will load its position view, layout view and all parameters with their values including name, id, position, style, size etc.

NoteList with some notes
When there are some notes added, the notelist screen would look like
-
imageview to show “Notes” icon
-
textview to show text “Notes” text
-
imageview to show “Create Note” icon
-
textview to show “Monthly Notes” text
-
textview to show “Weekly Lists”text
-
textview to show “Today List” text
hierarchy viewer will show following contents hierarchy of above screen 
It will show following contents
-
textview to show “Notes” text
-
textview to show sub title which is hidden
-
imageview to show “Notes” icon
-
imagebutton to show “Create Notes” icon
-
Button with text “New Note” which is also hidden
-
listview to show following notes list
-
textview to show “Monthly Notes” text
-
textview to show “Weekly List” text
-
textview to show “Today List” text
Contents in bold are basically made hidden, that’s why these are not visible on device, and we don’t even sure about the properties bind with all of them.
On hierarchy view each block represent a content, on tapping any content will load its position view, layout view and all parameters with their values including name, id, position, style, size etc.
NoteEditor Screen
NoteEditor screen shows following contents on device

It gives following idea about contents
-
imageview to show “Notes” icon
-
textview to show text “Edit: Weekly List” text
-
imageview to show “Create Note” icon
-
imageview to show “Delete Note” icon
-
textview to show “Monthly Notes” text
-
textview to show “Weekly List” text
-
textview to show “1. Task one” text
-
textview to show “2. Task two” text
-
textview to show “3. Task three” text
-
textview to show “4. Task four” text
-
textview to show “5. Task five” text
hierarchy viewer will show following contents hierarchy of above screen,
It gives following idea about contents
-
imageview to show “Notes” icon
-
textview to show text “Edit: Weekly List” text
-
textview is hidden for space
-
imageview to show “Create Note” icon
-
Button with text “Save” which is also hidden
-
imageview to show “Delete Note” icon
-
Button with text “Delete” which is also hidden
-
note to show note contents
Contents in bold are basically made hidden, that’s why these are not visible on device, and we don’t even sure about the properties bind with all of them.
On hierarchy view widow each block represent a content, on tapping any content will load its position view, layout view and all parameters with their values.

TitleEditor Screen
TitleEditor screen shows following contents on device
It gives following idea about contents
-
textview to show “Note title” text
-
editview to show “Weekly List” text
-
button with text “Ok”
hierarchy viewer will show following contents hierarchy of above screen 
It gives following idea about contents
-
textview to show “Note title” text
-
editview to show “Weekly List”
-
button with text “Ok”
On hierarchy view widow each block represent a content, on tapping any content will load its position view, layout view and all parameters with their values.

From above screens we can understand contents which are visible & hidden as we don’t have much idea about their Name, Id and other properties. Thanks to Robotium which provides us the way of calling contents by their indexes like in above screen, to enter some value in first EditFiled, we can write following line of code
solo.enterText(0, “10”);
Where the 0 represents the index or number of content on screen, as it is first EditField on screen, same we have to do with other controls.
This is fine so far and also works fine in simple cases, but suppose if there is some hidden content used within the app then how will we decide what is its index, and we will face issues in case. Hierarchy Viewer tool has covered this gap and know we can get detailed info about all parameters associated with any content.


